;%20stroke-width:0px;'/%3e%3c/g%3e%3c/svg%3e)
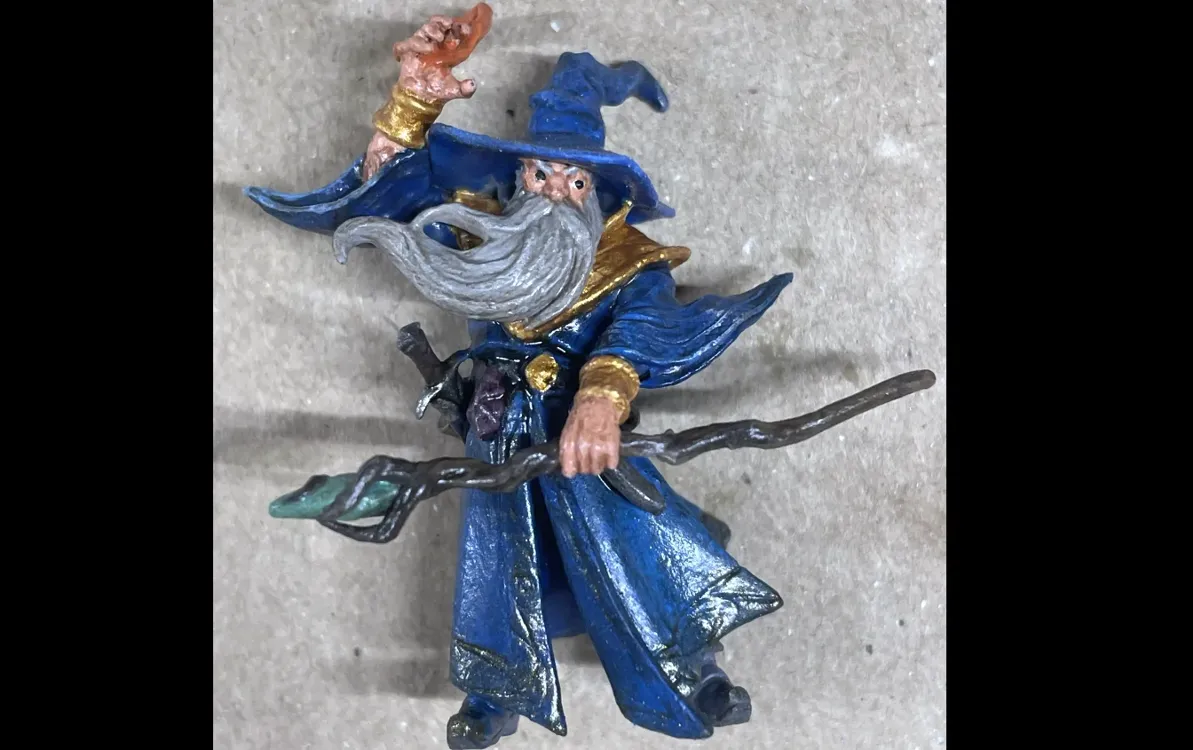
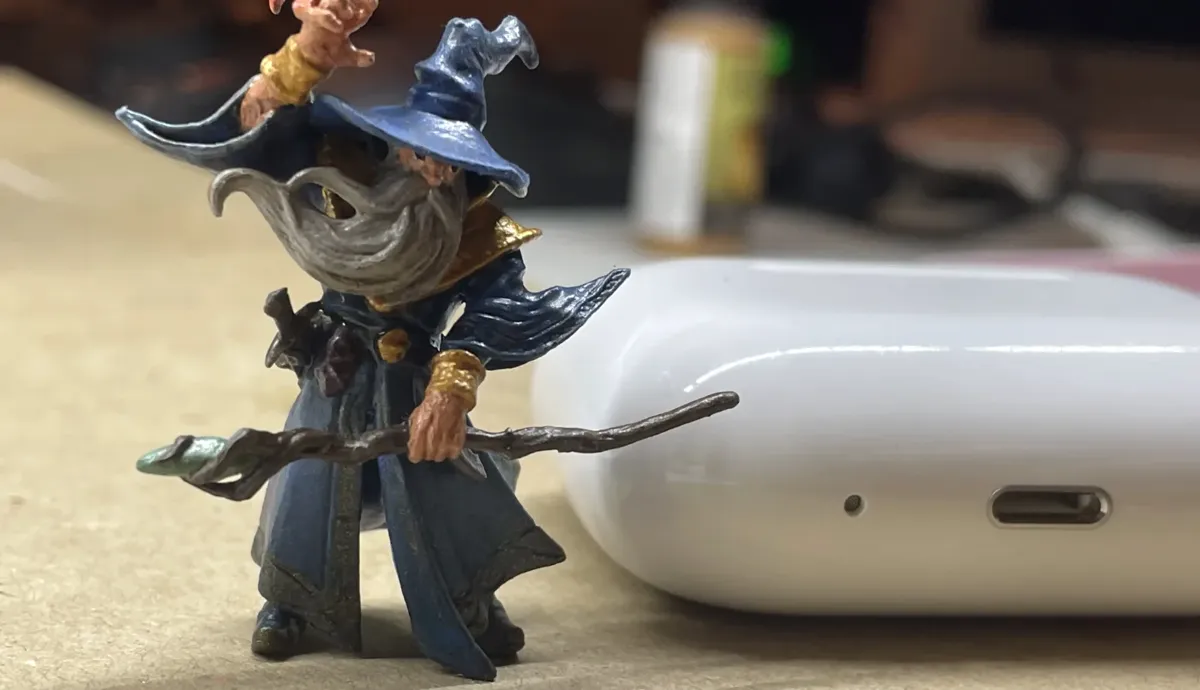
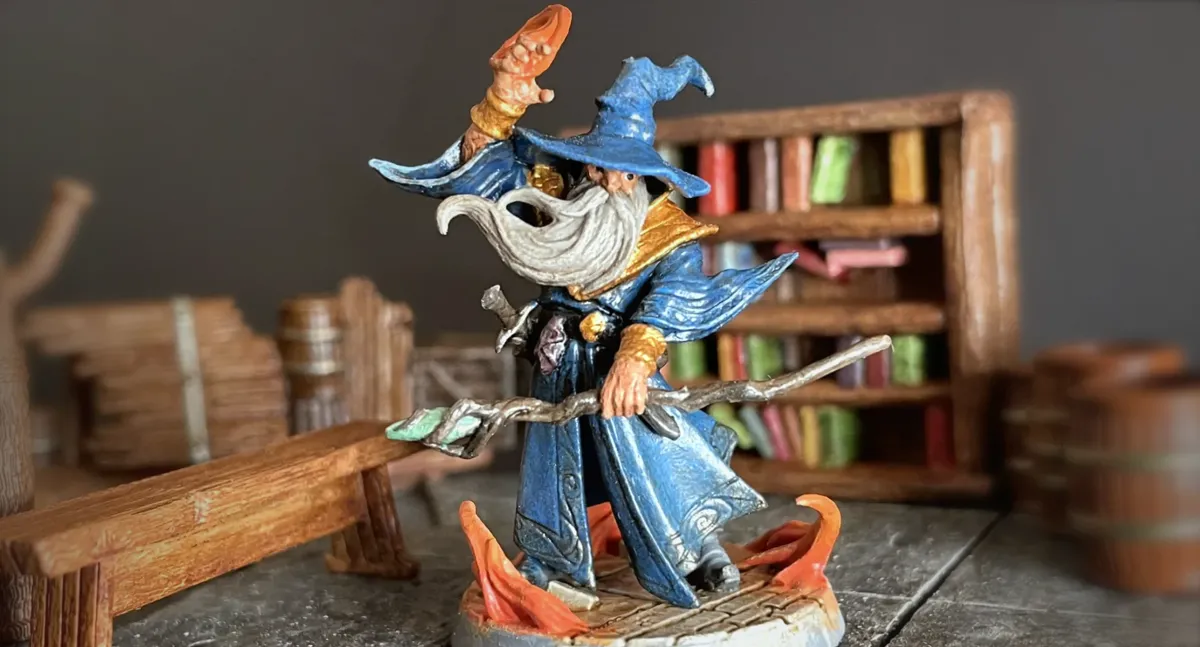
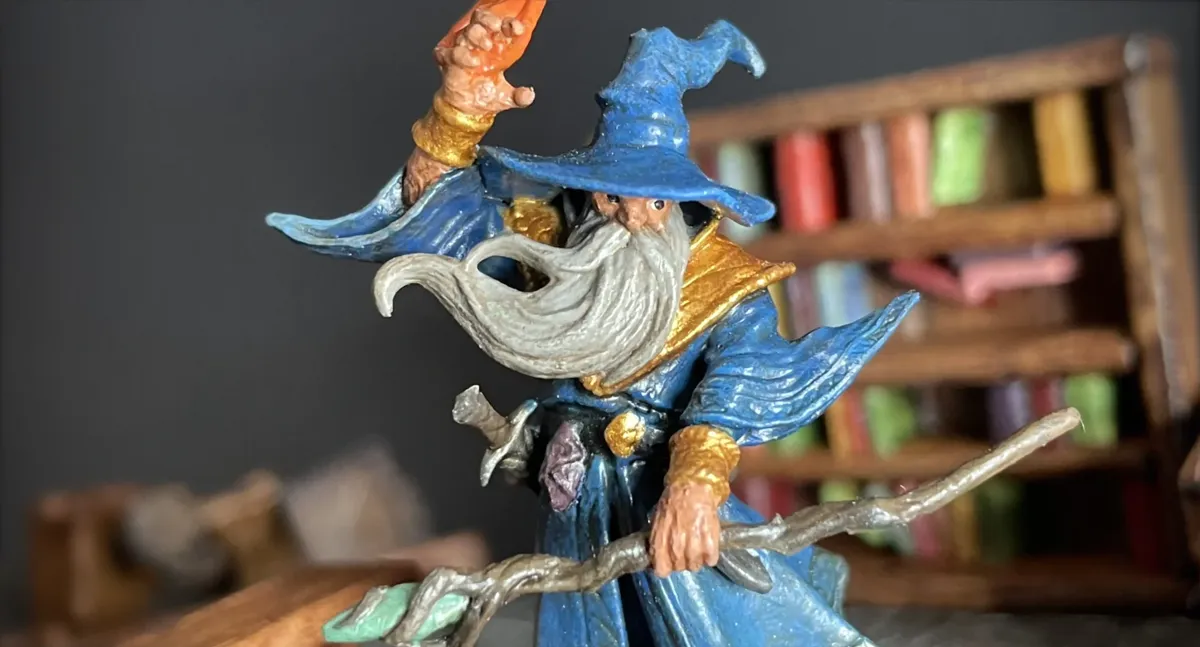
Human Evoker Wizard
StatusFinished
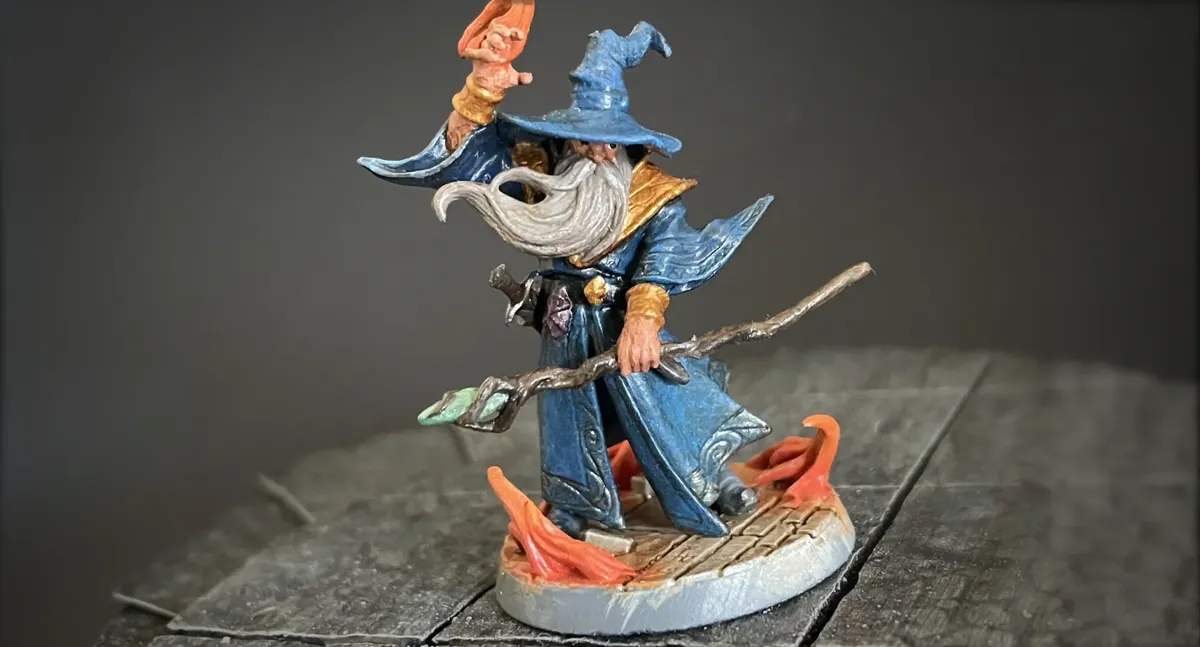
Painting the Wizard
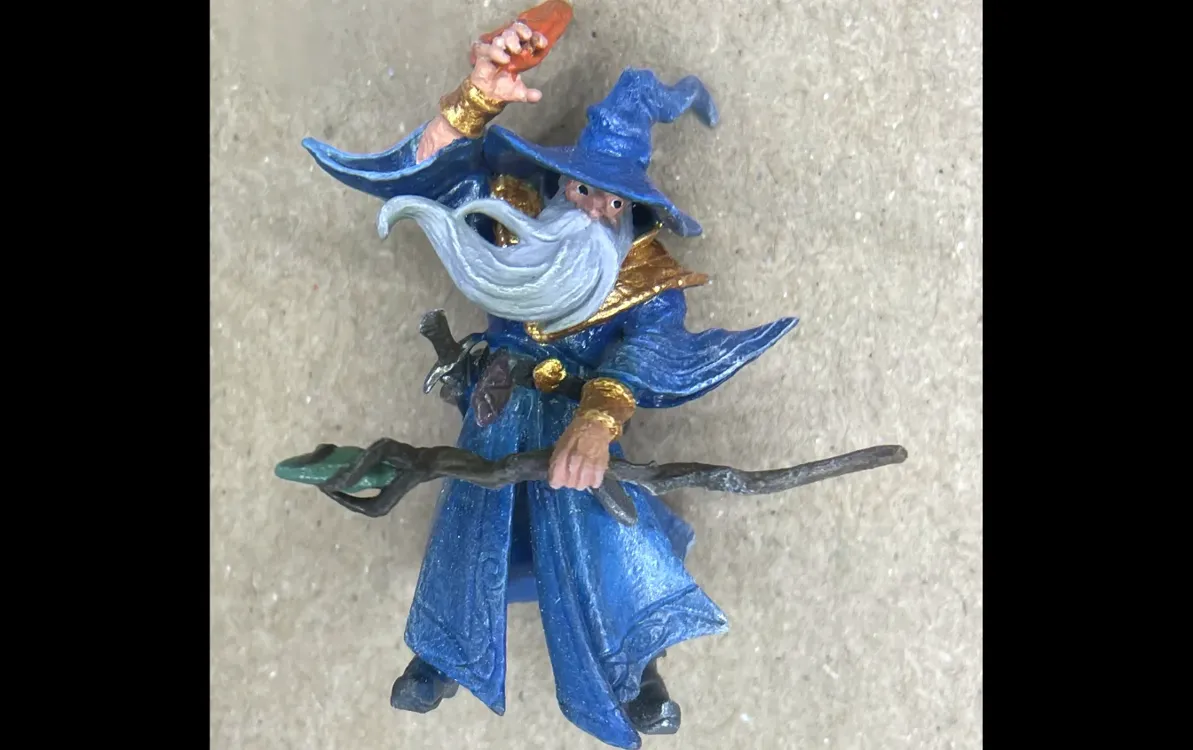
I painted this mini for one of the players in my D&D campaign, and it was the first miniature I was truly proud of. I think I captured the color scheme of a classic wizard, and I was glad the mini had so many details that I could bring out with paint.
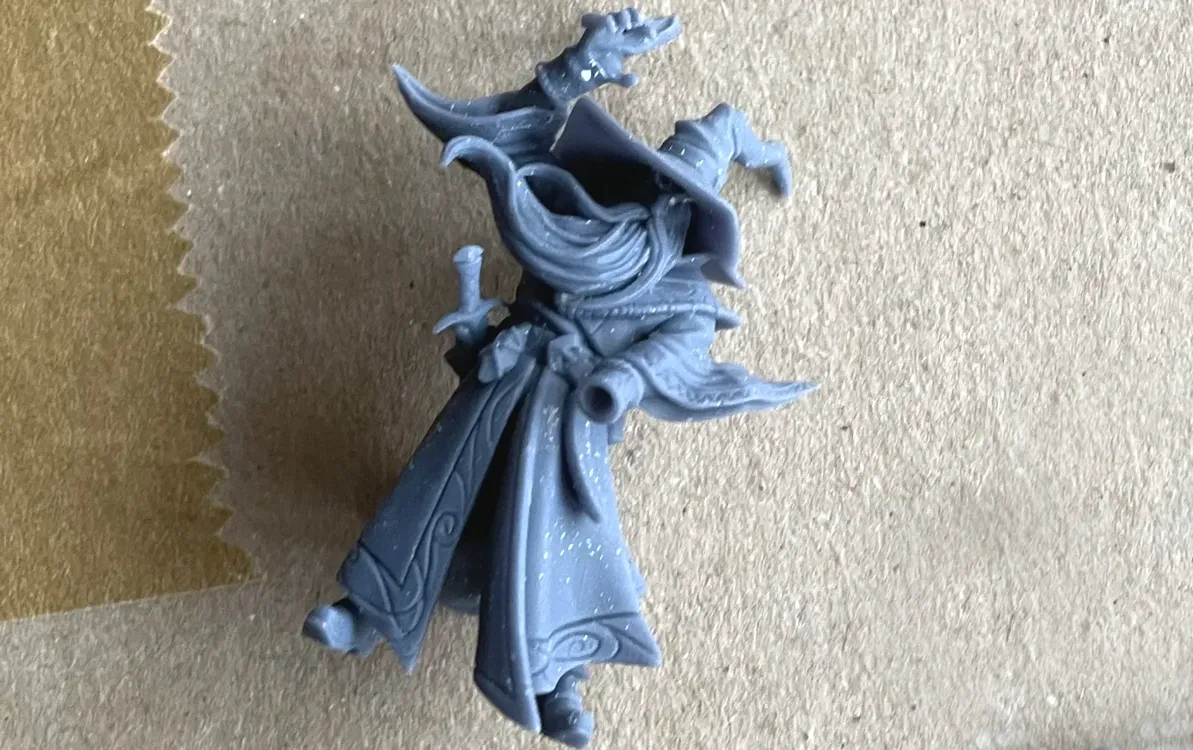
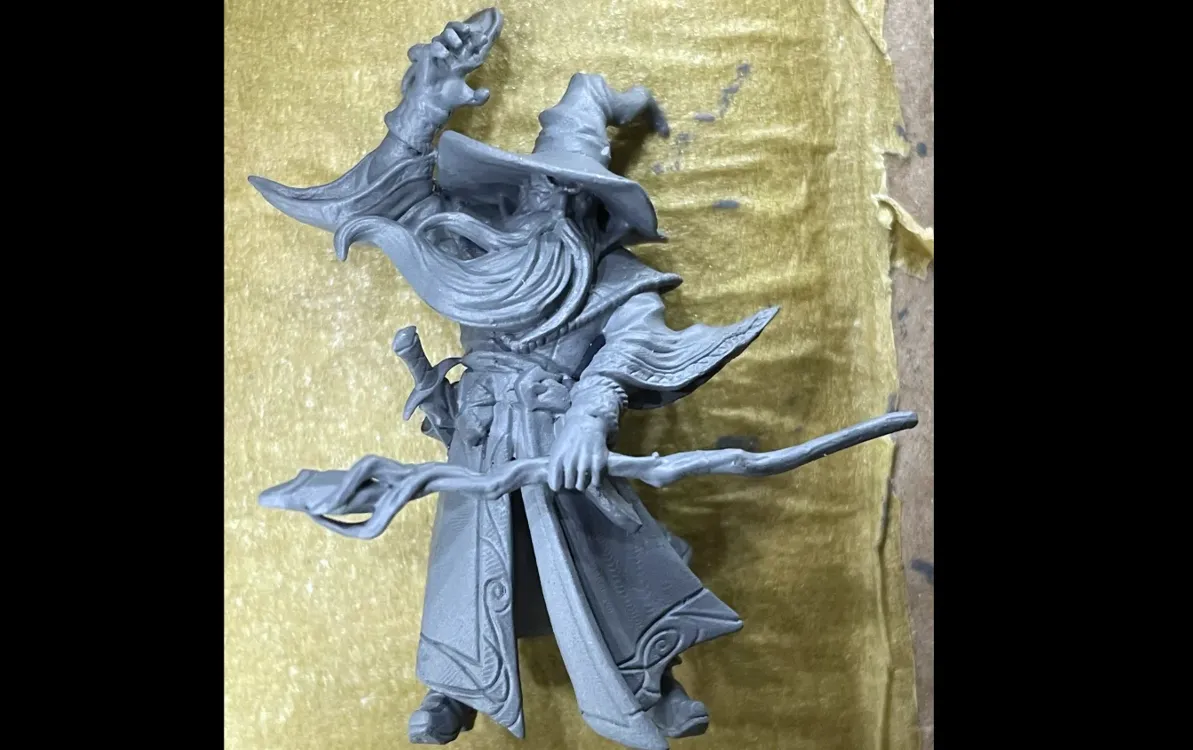
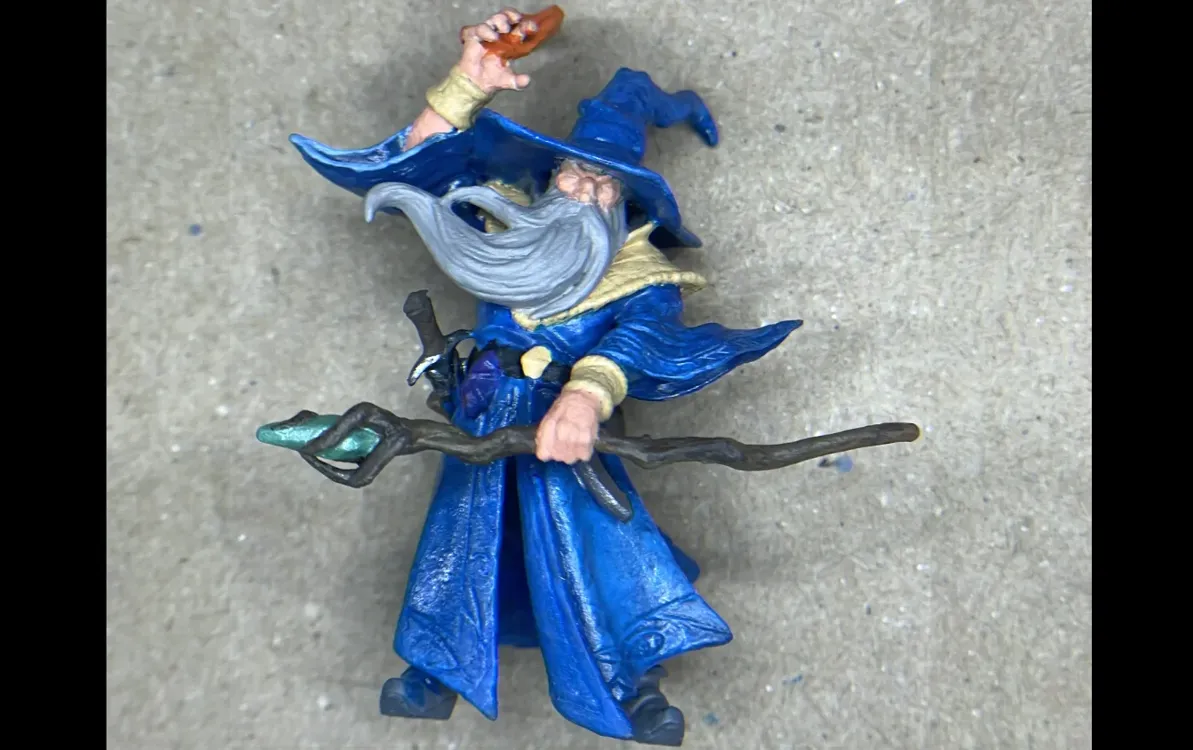
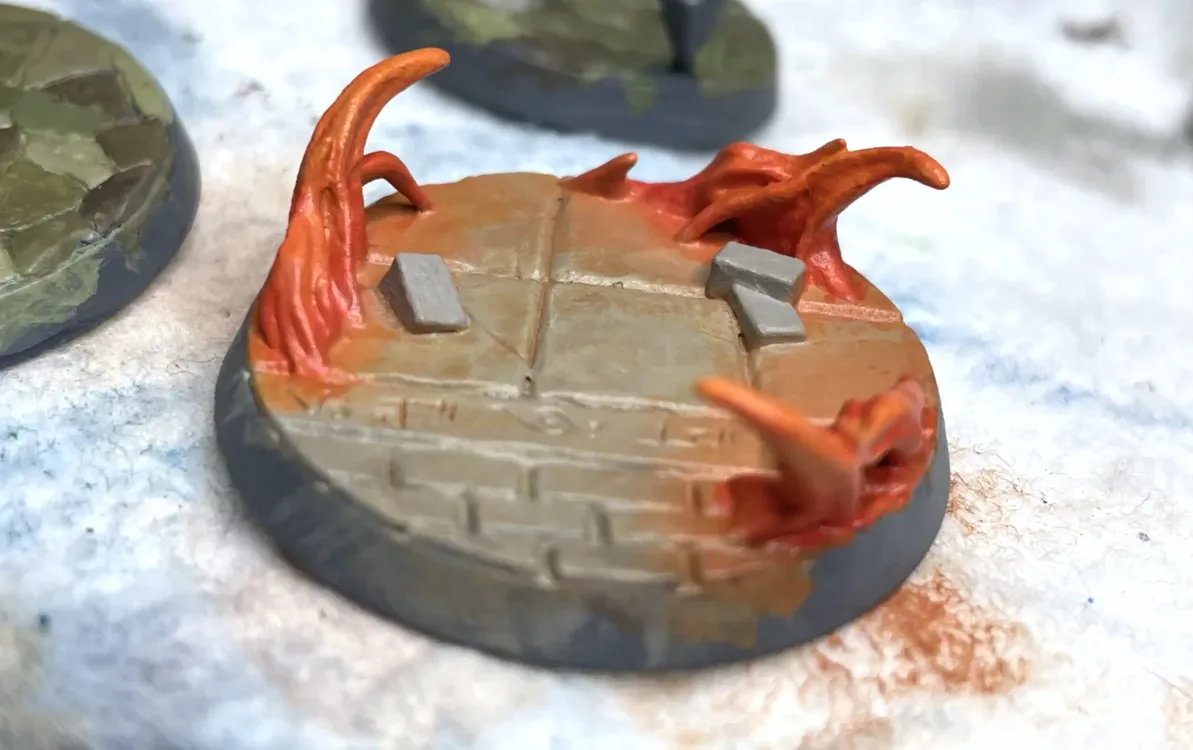
The project took four or five evenings, with a few hours of hobby work each night. The process included assembling the miniature, priming, basecoating, painting details, drybrushing, shading, painting the base, and finally gluing the miniature to it.
Project Facts
- Project Type
- Miniature Painting
- Difficulty
- Intermediate
- Mini
- 1
- Hands-On Time
- Approximately 10 hours
- Total Time
- Approximately 5 days
- Scale
- 28 mm
Materials
- Miniature: Cornelius Greathat, Artisan Guild
- Army Painter and Vallejo acrylic paints
- Material: 3D-printed resin
- Army Painter washes
- Super glue
Techniques
- Priming the mini in gray.
- Applying basecoats to the areas that required different colors.
- Wet blending the flame effects to create soft color gradients.
- Applying a wash to deepen the shadows and add definition.
Bringing the Wizard to Life
I was fortunate enough to document this project with photos showing each step of the process. You can see the full progression in the image carousel.
My process was roughly as follows:
- Day 1: I assembled and primed the wizard.
- Day 2: I applied the basecoats.
- Day 3: I painted the smaller details.
- Day 4: I added shading and started painting the base.
- Day 5: I finished the base and glued the miniature to it.